Installing the Zeotap Collect Extension
Before you can configure rules or begin tracking events, you need to install the Zeotap Collect Extension into your Adobe Experience Platform Launch property.
This section walks you through the installation process, including locating the extension, assigning it to your environment, and publishing changes.
Prerequisites
Ensure you have the following before proceeding:
- Access to Adobe Experience Platform Tags (Launch) with edit permissions
- An active Zeotap Write Key (provided by your Zeotap representative)
- A published Adobe Launch property for your website
Step-by-Step Installation Guide
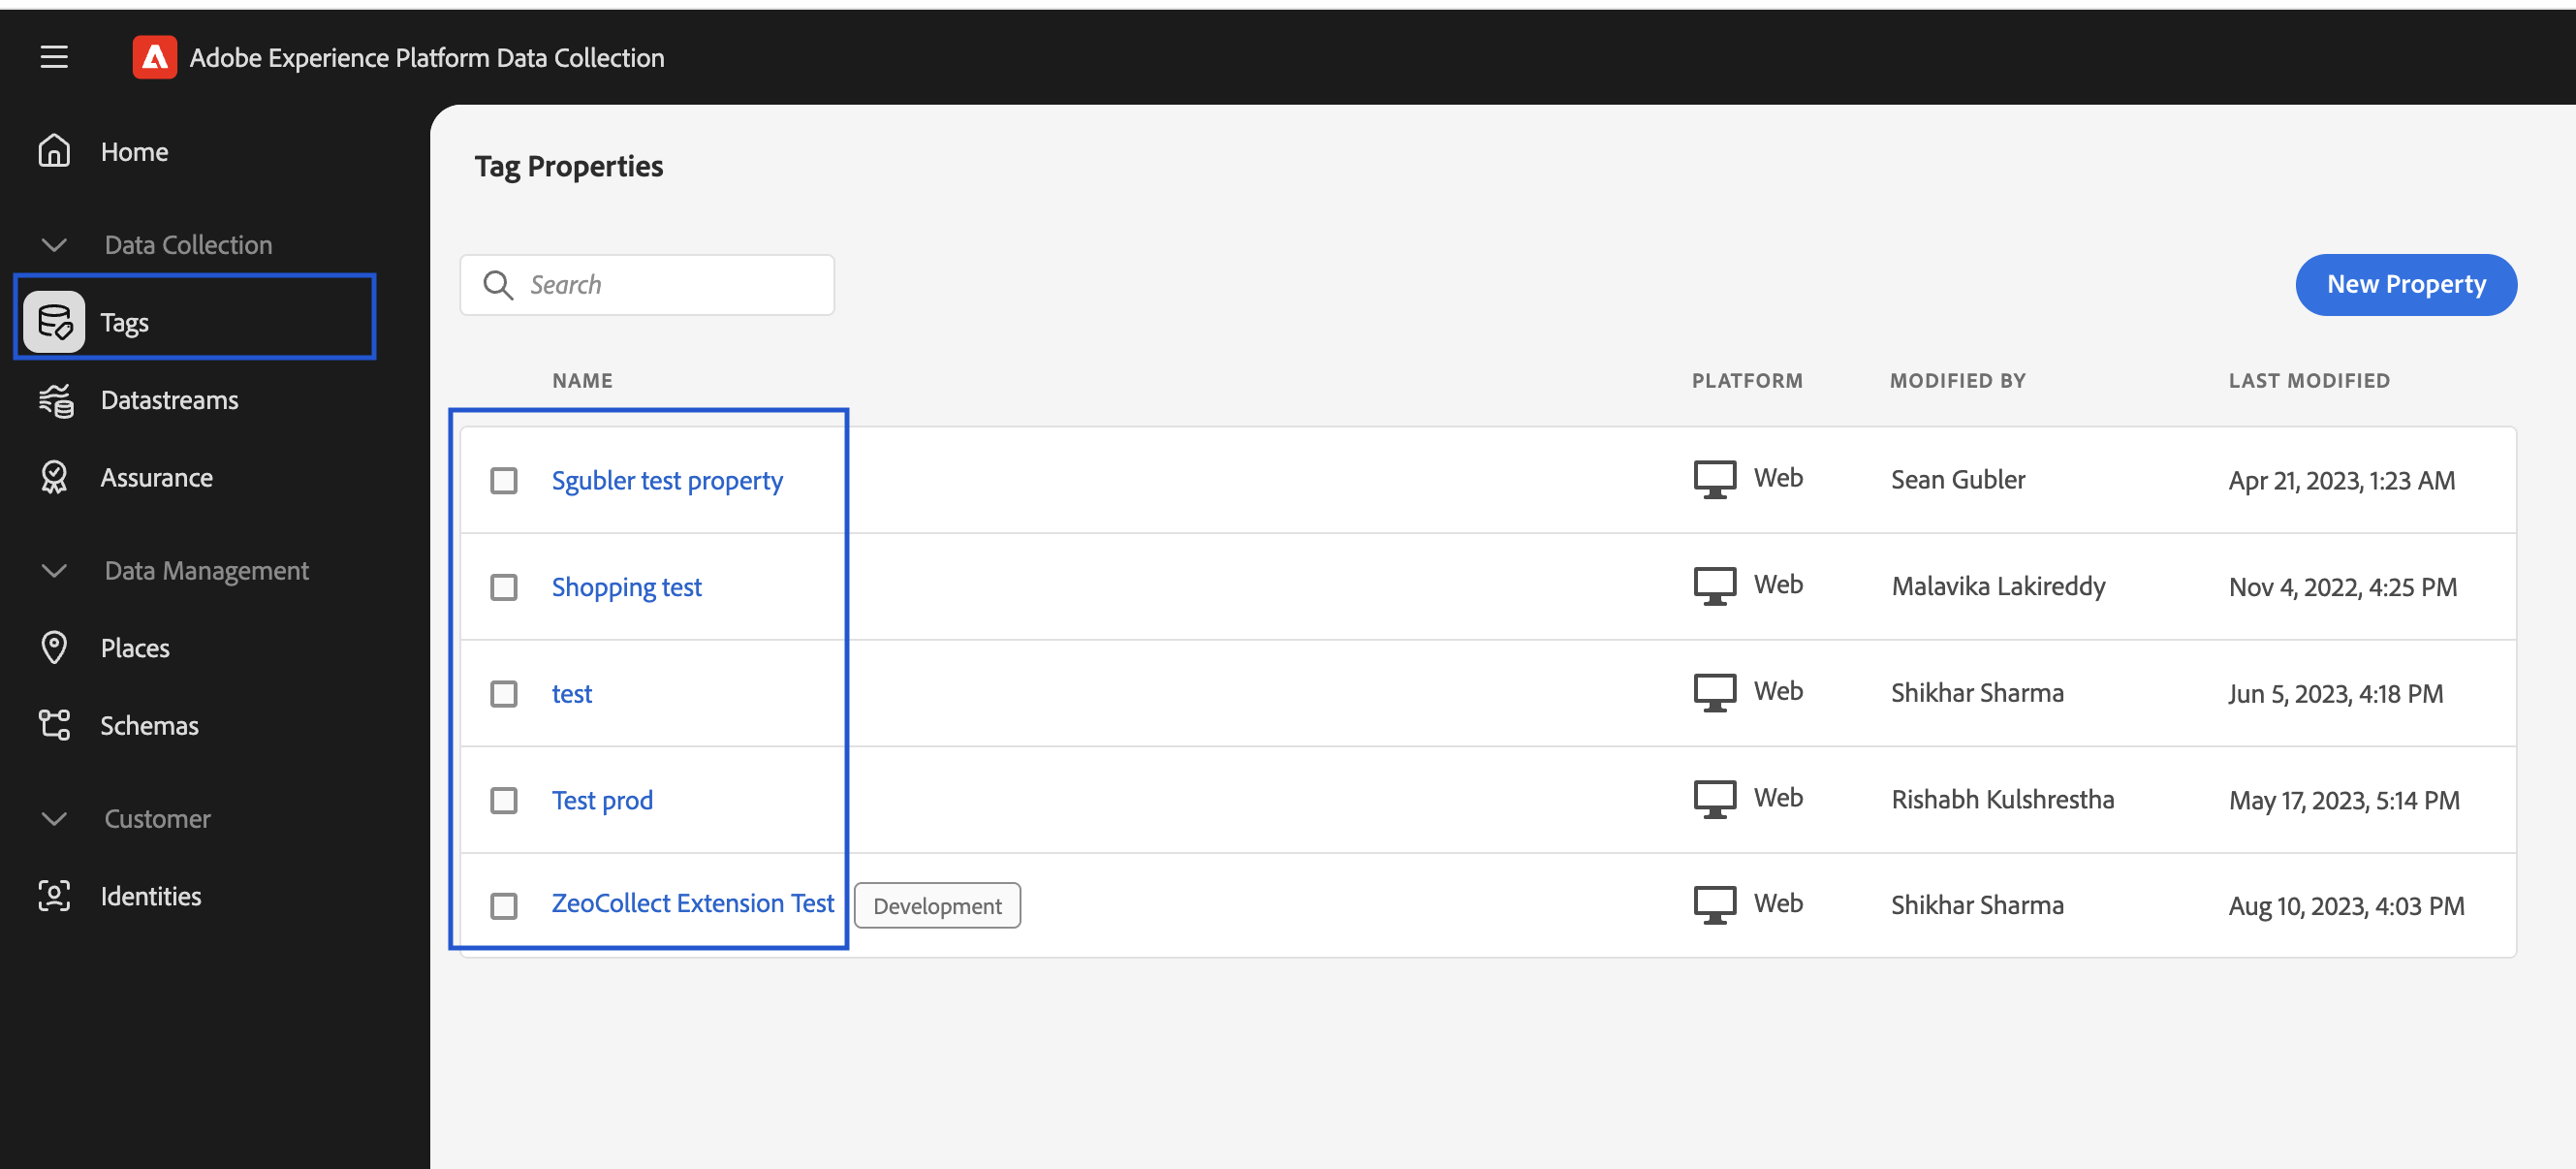
Step 1: Log into Adobe Launch
- Visit: https://experience.adobe.com/
- Navigate to Tags under Adobe Experience Platform
- Choose the appropriate Property for your website
Step 2: Open Extensions
- In the left-hand navigation, click Extensions
- Click the Catalog tab
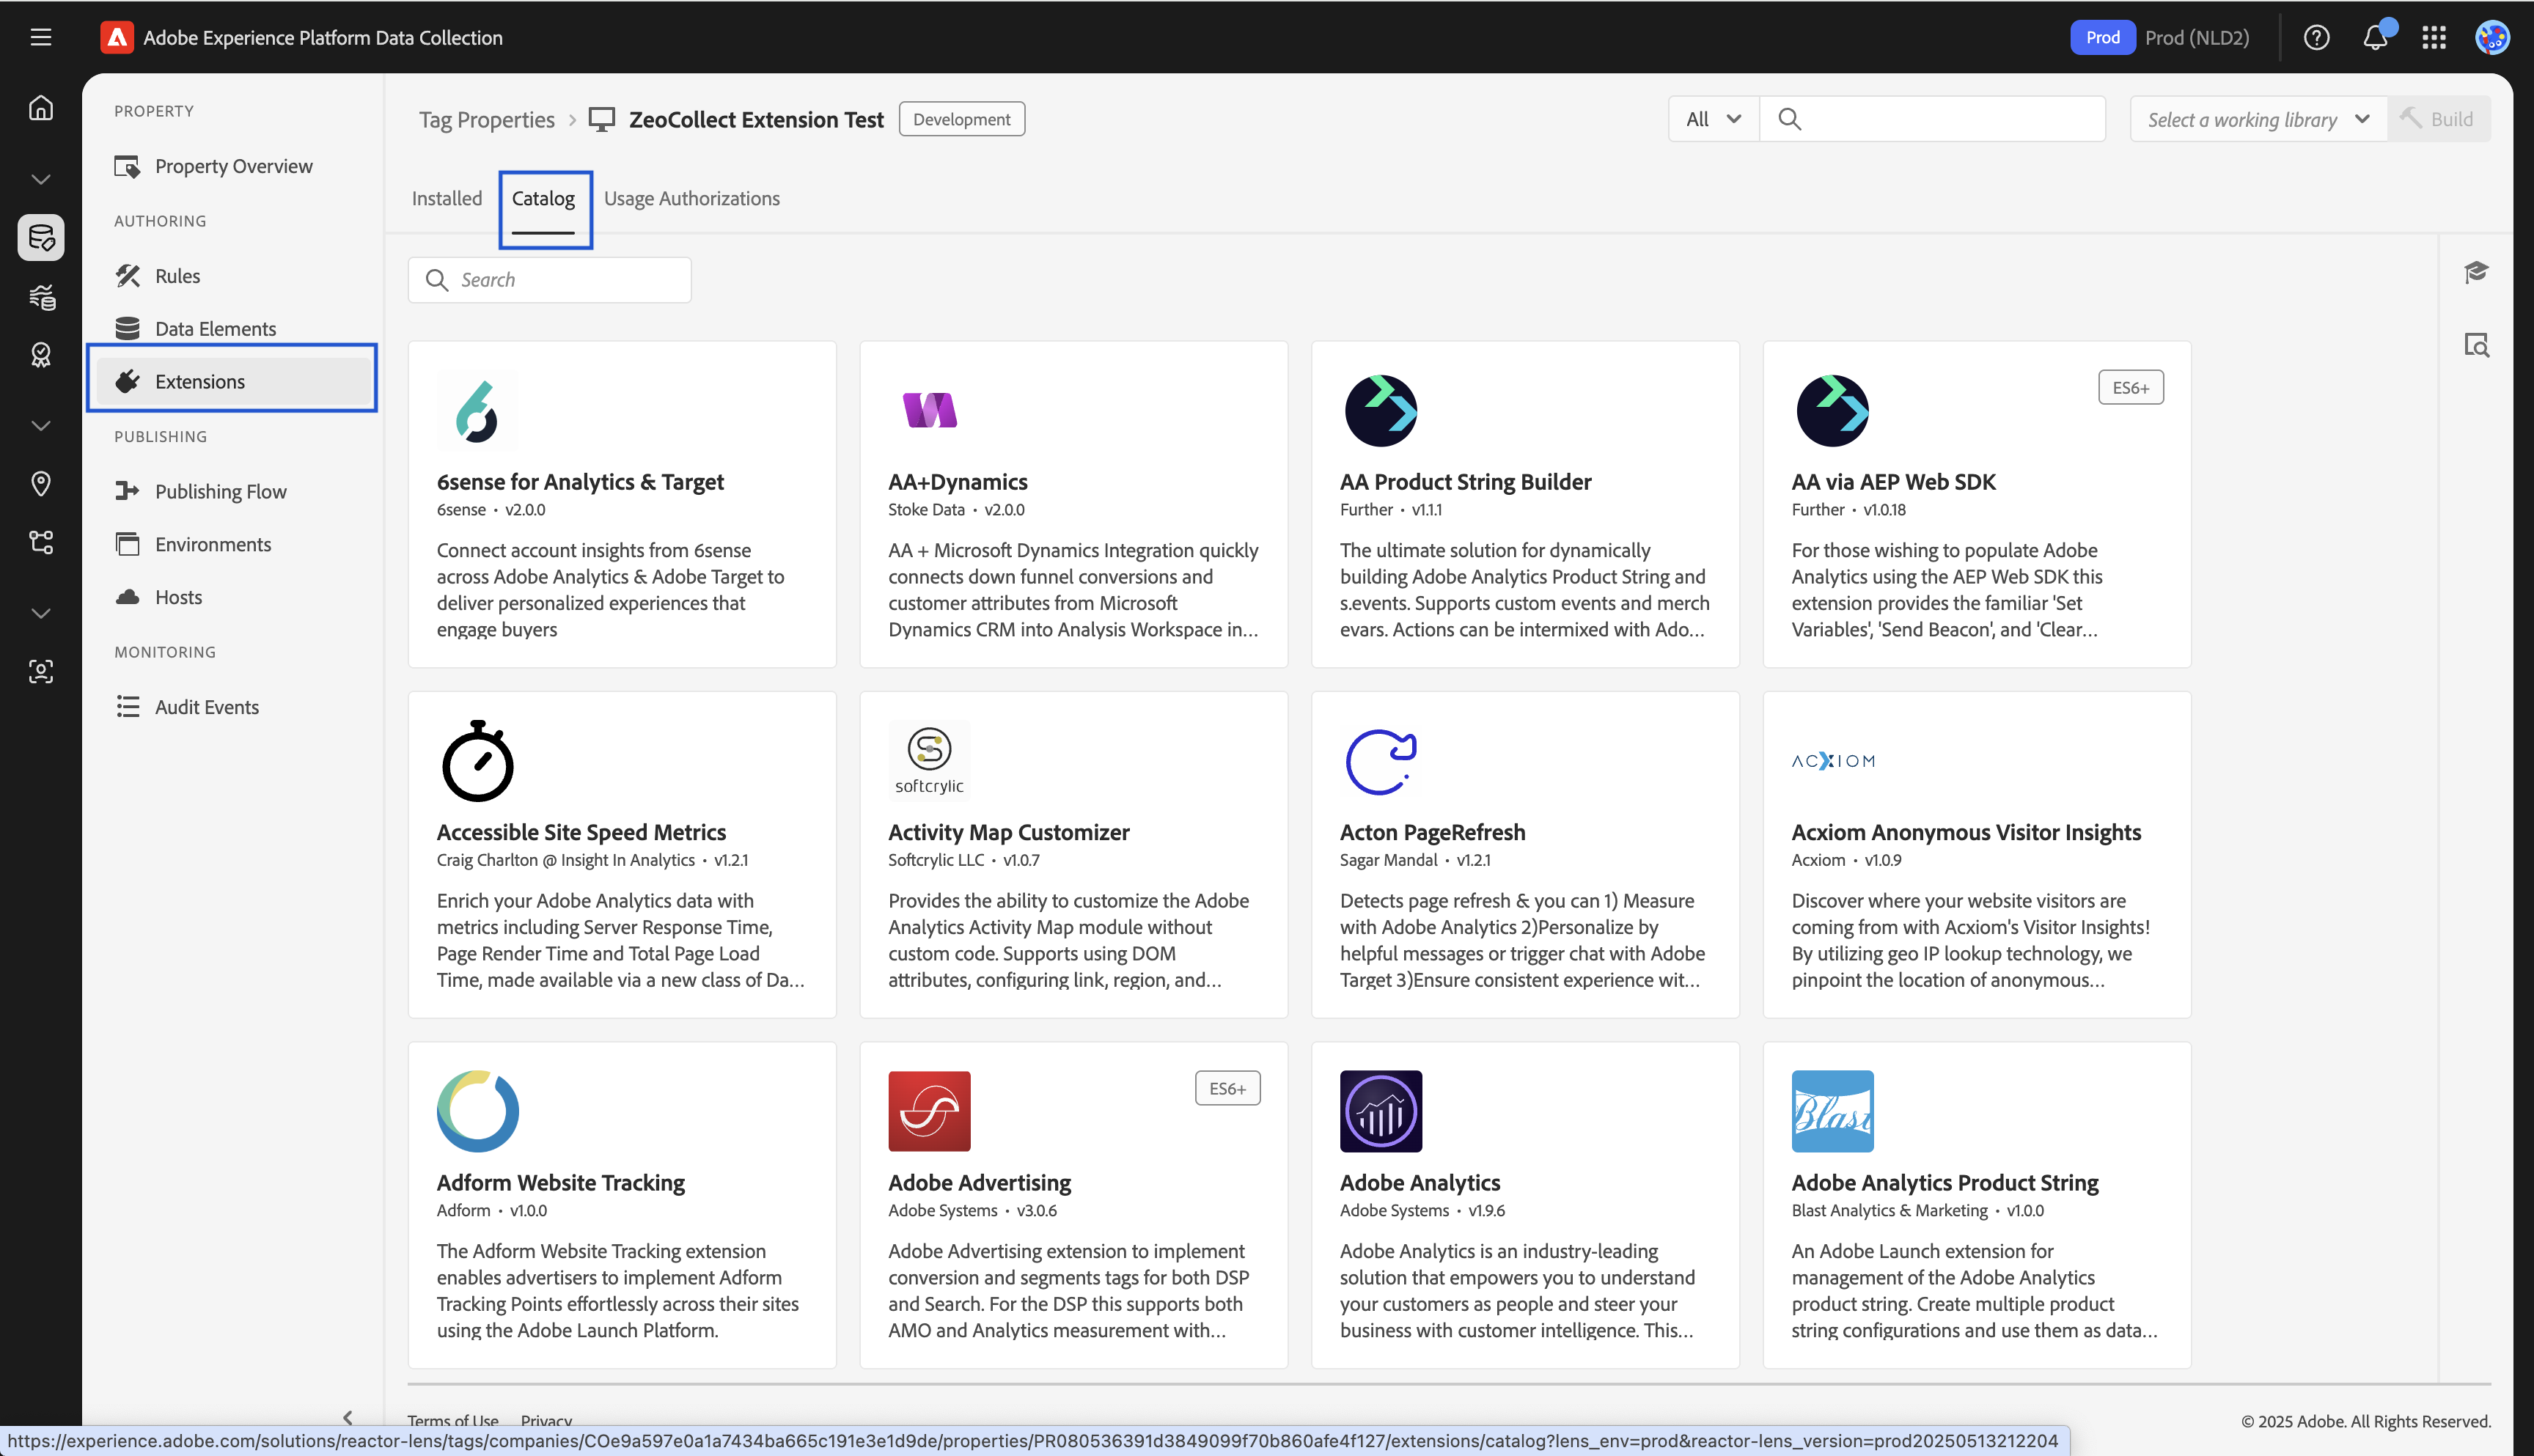
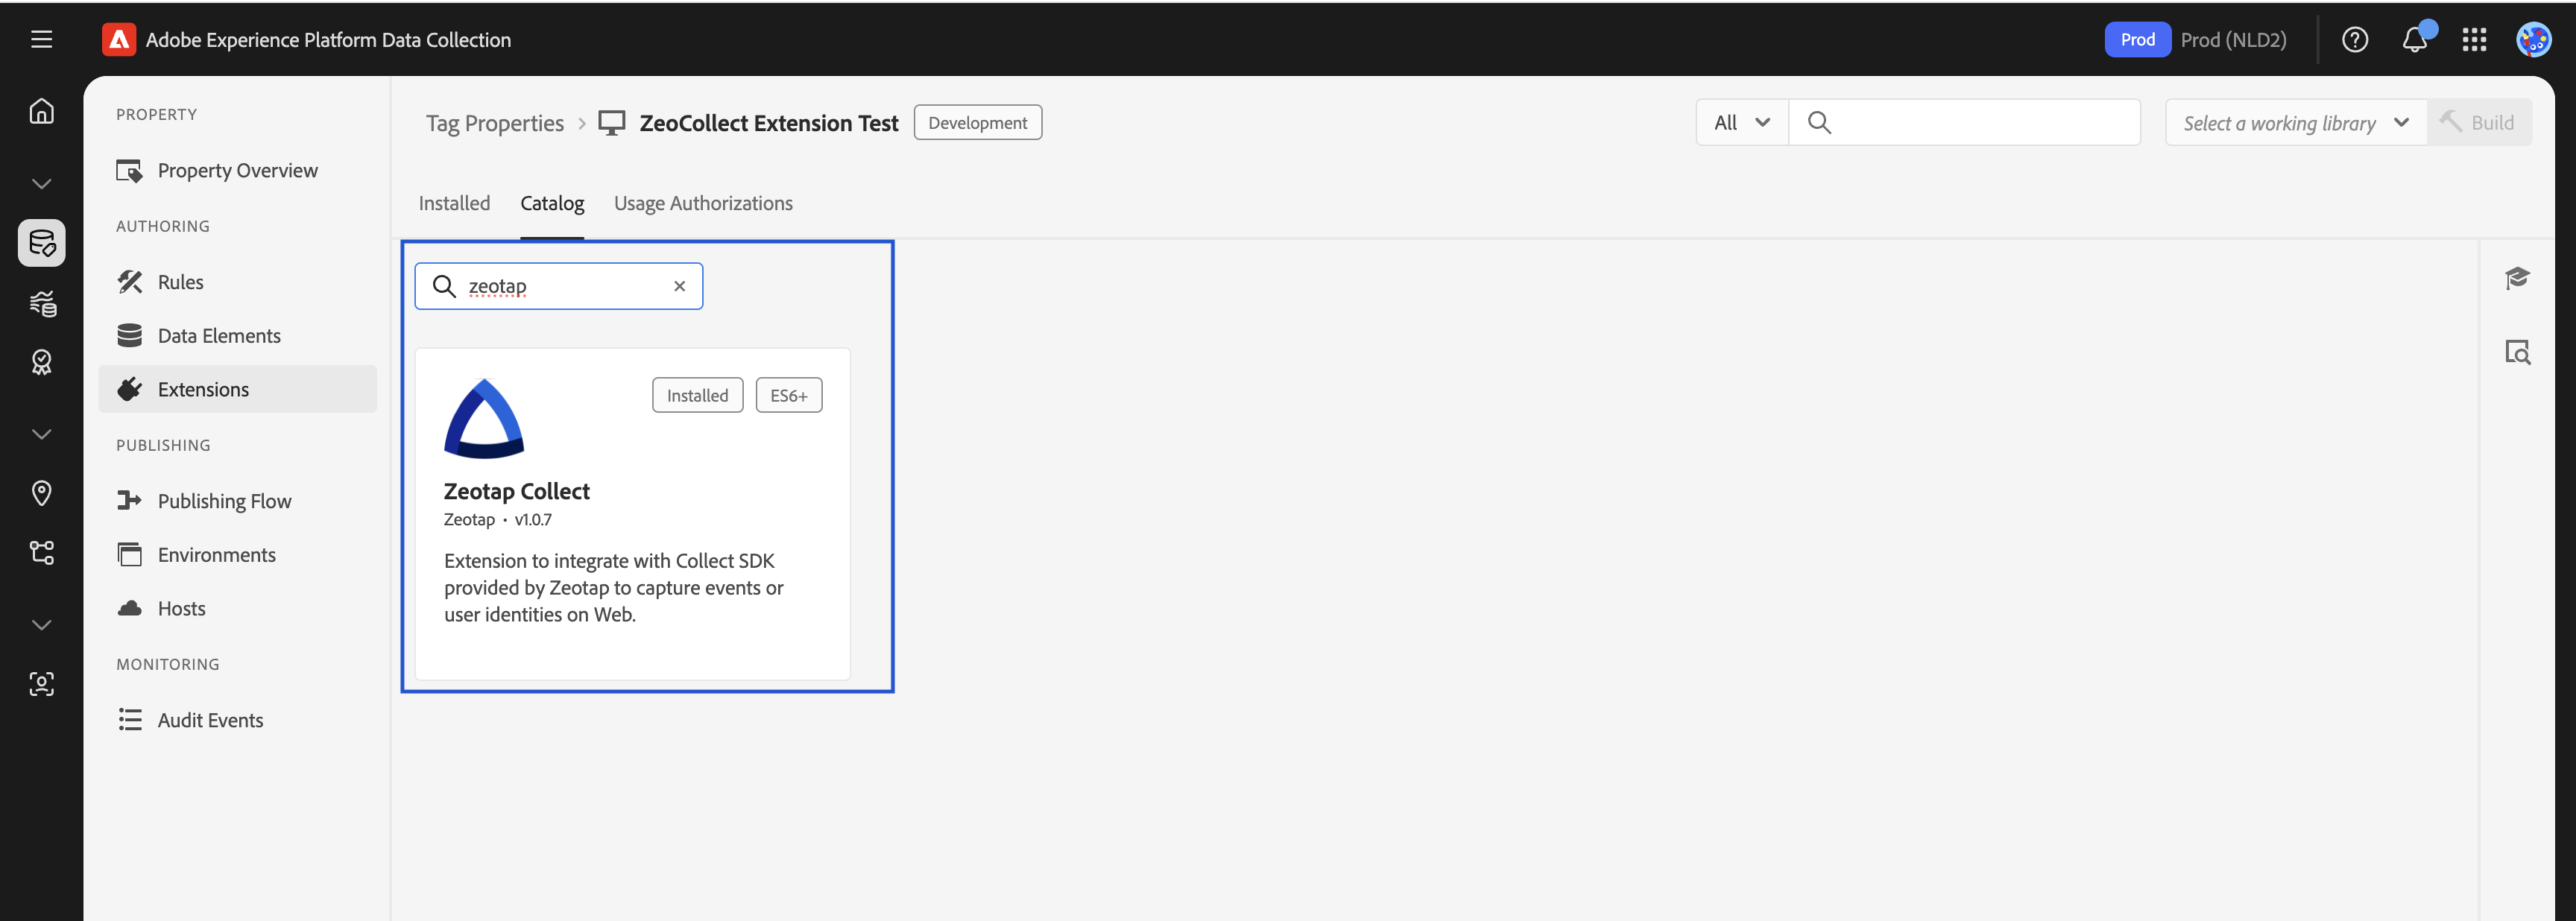
Step 3: Locate Zeotap Collect Extension
- Use the search bar to find
Zeotap Collect - Click the Install button next to the extension
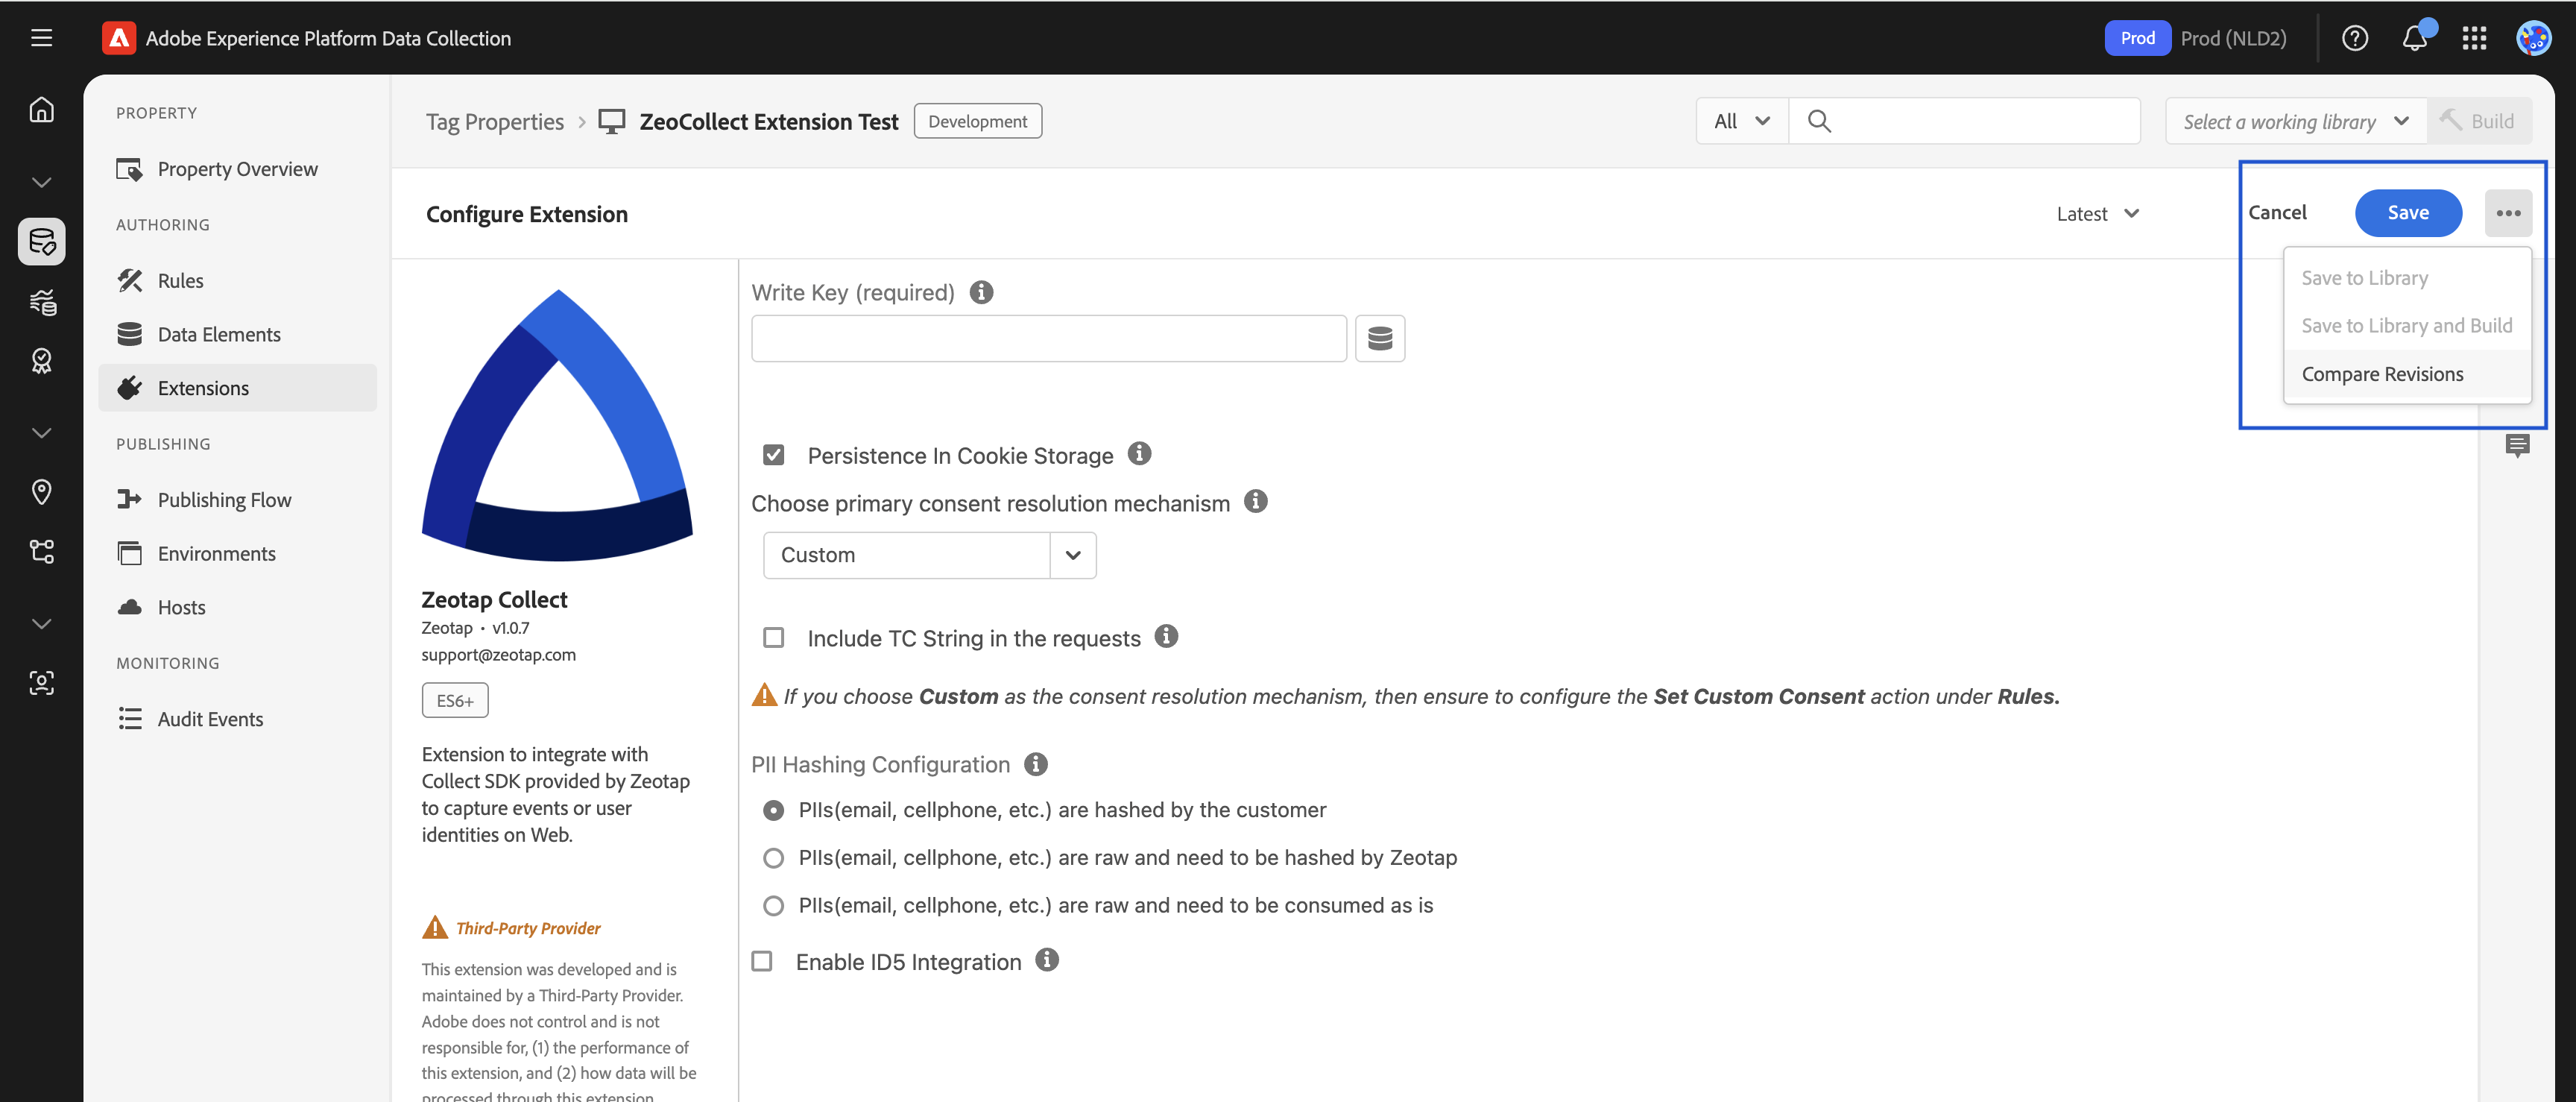
Step 4: Add the Extension to Your Property
Once installed:
- Go to the Installed tab
- Click on Zeotap Collect
- Proceed to configure the extension

Step 5: Save and Build
- After adding the extension, click Save
- Navigate to Publishing Flow
- Build a new library and assign it to the relevant environment (e.g., Development, Staging, Production)
- Click Submit, Approve, and Publish (if ready)
After installation and configuration, you can proceed to set up rules and actions for tracking events, syncing user identities, and managing consent.